Transfer Tissue Paper to Canvas: Smooth, No-Tear Method

How to transfer tissue paper to canvas?
Transferring tissue paper to canvas is easiest when you treat the tissue like a delicate top layer that needs support, even glue coverage, and light pressure. The goal is to secure it without tearing, wrinkling, or turning the colors muddy.
Method: Decoupage-style transfer (best for printed or decorative tissue)
1) Prep the canvas. Start with a clean, dry canvas. If the surface is very textured, brush on a thin coat of acrylic gesso and let it dry so the tissue has a smoother base to grip.
2) Trim and position. Cut the tissue slightly larger than the area you want to cover. Because tissue shifts easily, place it gently and avoid overhandling.
3) Add a “slip” layer. Brush a thin, even coat of decoupage medium (or diluted white glue) onto the canvas. This gives you a few seconds to reposition the tissue before it grabs.
4) Lay the tissue and smooth safely. Place the tissue on the wet medium. Put a piece of plastic wrap or wax paper over it, then smooth from the center outward with your fingers or a soft brayer. This prevents direct friction that can shred tissue.
5) Seal from the top. Once it’s flat, brush another thin coat of medium over the tissue. Use a soft brush and light strokes in one direction to avoid lifting the fibers.
6) Dry and finish. Let it dry completely (at least a few hours). Add one to two more sealing coats for durability. Optional: finish with a clear acrylic sealer or varnish once fully dry.
Quick troubleshooting
Tears: Use less pressure and always smooth with plastic wrap/wax paper on top. Wrinkles: Work from center outward with a lightly loaded brush and thin coats. Bleeding ink: Test first; some tissues run when wet, so use minimal medium and quick, gentle strokes.
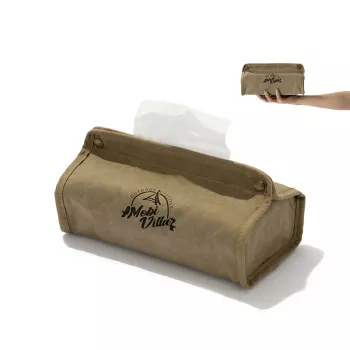
For more craft-friendly ideas that pair well with portable, canvas-based projects, visit this guide to a portable canvas tissue box.
FAQ
How do you seal tissue paper on canvas without wrinkles?
Apply thin coats of decoupage medium and smooth the tissue under plastic wrap or wax paper from the center outward. Let each coat dry fully before adding another to prevent ripples.








Leave a comment