Compact Car Dust Brush for Vents & Console Crevices
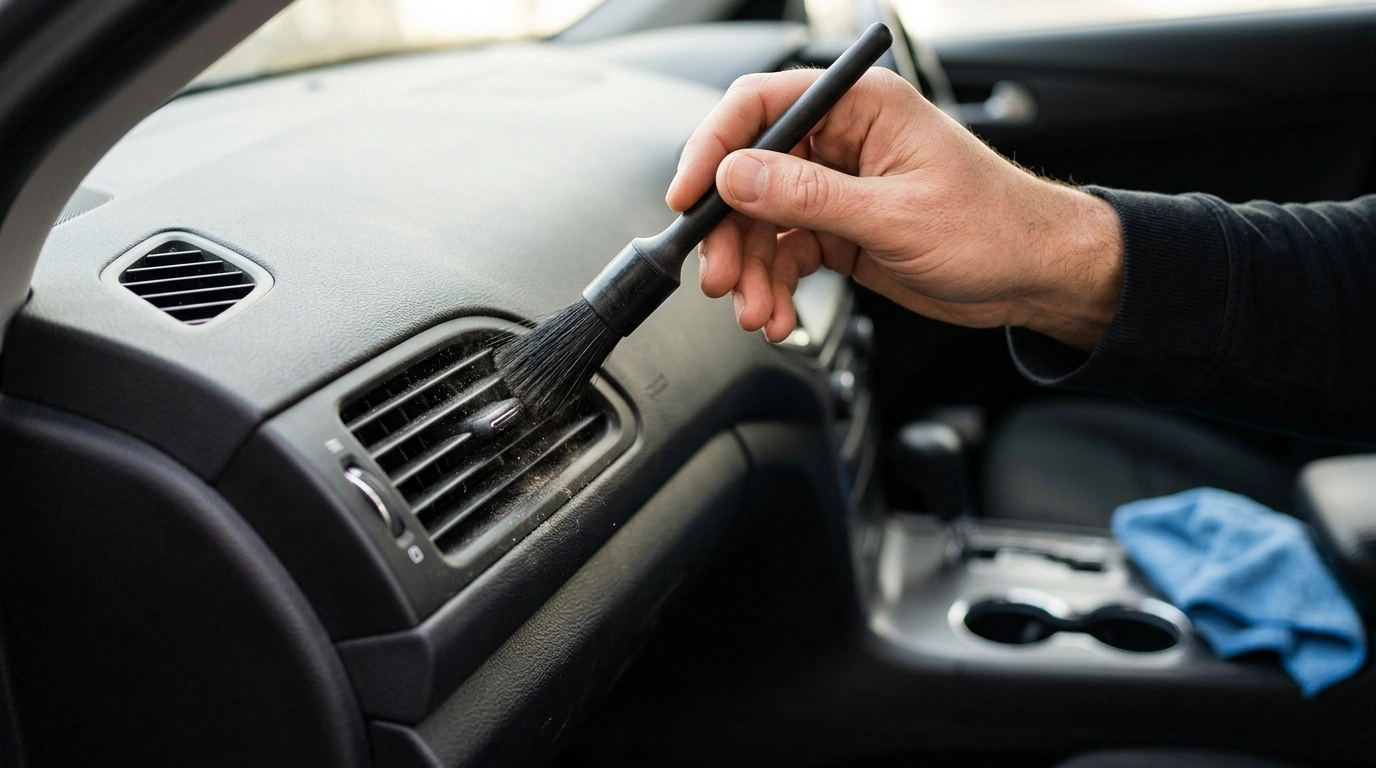
Compact Car Dust Cleaning Brush: Quick Cleanups for Vents, Consoles, and Tight Corners
A clean cabin feels better to drive in, but the places that collect dust fastest—air vents, buttons, cup holders, and the seam where the dash meets the windshield—are also the hardest to wipe. Our Compact Car Dust Cleaning Brush is a small, easy-to-keep tool made for fast touch-ups between deeper cleanings, helping lift loose dust from creases and textured surfaces without dragging grime across the interior.
Where this brush helps most
- Air vents and vent slats: Lifts dust from narrow gaps where cloths can’t reach cleanly.
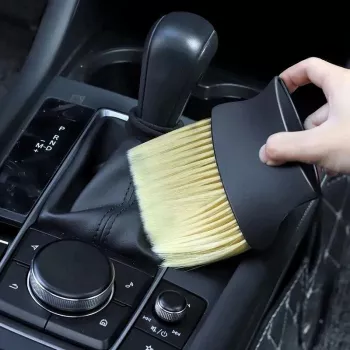
- Center console details: Works around knobs, gear selector trim, seams, and stitched edges.
- Dashboard texture: Loosens dust from grained plastics so it can be collected instead of smeared.
- Cup holders and door pockets: Sweeps crumbs and grit to one spot for easy removal.
- Screen bezels and button rows: Clears buildup around edges (finish by wiping the surrounding area with a clean, soft cloth).
A simple routine that keeps the cabin looking fresh
If you want your interior to look “just cleaned” more often, consistency matters more than long sessions. Our team recommends a quick, repeatable routine that takes minutes and prevents dust from building into a film.
- Start dry: Use the brush on dusty areas first so loose particles don’t turn into streaks.
- Work top-down: Dash first, then console, then lower panels—dust falls, so cleaning in order reduces rework.
- Short strokes for seams: Use light, controlled motions along trim lines and stitching to lift dust from the groove.
- Collect what you loosen: After brushing, wipe with a clean microfiber cloth or vacuum the area so dust doesn’t resettle.
- Finish high-touch spots: Steering wheel spokes, door handles, and window switches often need a quick wipe after brushing nearby.
Fast touch-up plan (5–10 minutes)
| Area | What to do | Finish |
|---|---|---|
| Air vents | Brush along slats and corners with light pressure | Wipe surrounding dash with microfiber |
| Instrument cluster hood | Brush along the lip and edges where dust collects | Quick wipe to remove any remaining film |
| Center console seams | Brush around trim edges and buttons | Vacuum crumbs or wipe with microfiber |
| Cup holders | Brush to gather grit into one spot | Vacuum or remove debris by hand |
| Door pockets | Brush corners and seams | Vacuum for a clean finish |
Keeping surfaces safe while cleaning
- Use light pressure first: Let the bristles do the work, especially on glossy trim and infotainment surrounds.
- Avoid grinding grit: If sand or heavier debris is present, vacuum first so particles aren’t dragged across surfaces.
- Pair with the right cloth: A clean microfiber cloth is ideal for picking up what the brush loosens.
- Be careful near screens: Brush edges and crevices around screens; clean the screen face with a screen-safe cloth and product designed for displays.
- Do not soak interior electronics: If using any cleaner afterward, apply to the cloth (not directly to switches, vents, or screens).
If you’re building better cleaning habits overall, it can help to follow established guidance on reducing dust and maintaining healthier indoor environments. The U.S. Environmental Protection Agency (EPA) Indoor Air Quality resources and the CDC’s cleaning guidance are solid references for keeping surfaces cleaner and limiting unnecessary spread of debris.
Where to store it so it actually gets used
- Glove box: Easy access for quick cleanups before errands or pickups.
- Center console bin: Ideal for frequent use (keep it away from liquids that could wet the bristles).
- Door pocket: Convenient for on-the-go dusting (pair with a small microfiber cloth).
- Car-care pouch: Store with wipes and a mini vacuum nozzle so a full touch-up is always within reach.
If you like keeping a dedicated “grab-and-go” kit for travel days, a sturdy bag you already use can work well. For example, our Alviero Martini Prima Classe Women’s Beige Bag with Zip can double as a personal tote that keeps small essentials together—just make sure anything that could leak is sealed before it goes in.
What this brush is great for—and what to use instead
- Great for: Loose dust, light crumbs, dry debris in creases, and routine maintenance between deeper cleans.
- Use a vacuum for: Heavy sand, pet hair in carpets, and debris packed into fabric seams.
- Use microfiber + interior cleaner for: Smudges, oily fingerprints, and sticky residue on hard surfaces.
- Use a detailing gel or specialized tools for: Extremely tight gaps where bristles can’t reach (then brush and wipe to finish).
Product pick for quick interior touch-ups
If you want a simple place to start, our team recommends keeping the Compact Car Dust Cleaning Brush in your glove box with one clean microfiber cloth. That combination handles most day-to-day dust without turning a quick cleanup into a full detailing session.
FAQ
Can this brush be used on air vents without scratching?
Yes—use light pressure and gentle strokes so the bristles lift dust instead of rubbing it in. If you see grit or sand, vacuum first, then brush, and finish by wiping the surrounding dash with a clean microfiber cloth.
How often should a car interior be dusted?
A quick touch-up once a week (or whenever you notice buildup) keeps dust from turning into a film. If you drive in dusty areas or you have kids or pets, you may want to brush and wipe high-traffic spots a few times per week, with a deeper clean monthly or seasonally.
What should be used after brushing to remove the loosened dust?
Use a clean microfiber cloth or a vacuum to actually remove what the brush loosens. Brushing alone can shift dust around, so a quick follow-up step helps prevent it from resettling on nearby surfaces.








Leave a comment