
3D ABS Redneck Edition Emblem: Easy Exterior Upgrade
Give Your Ride a Raised, Emblem-Style Accent
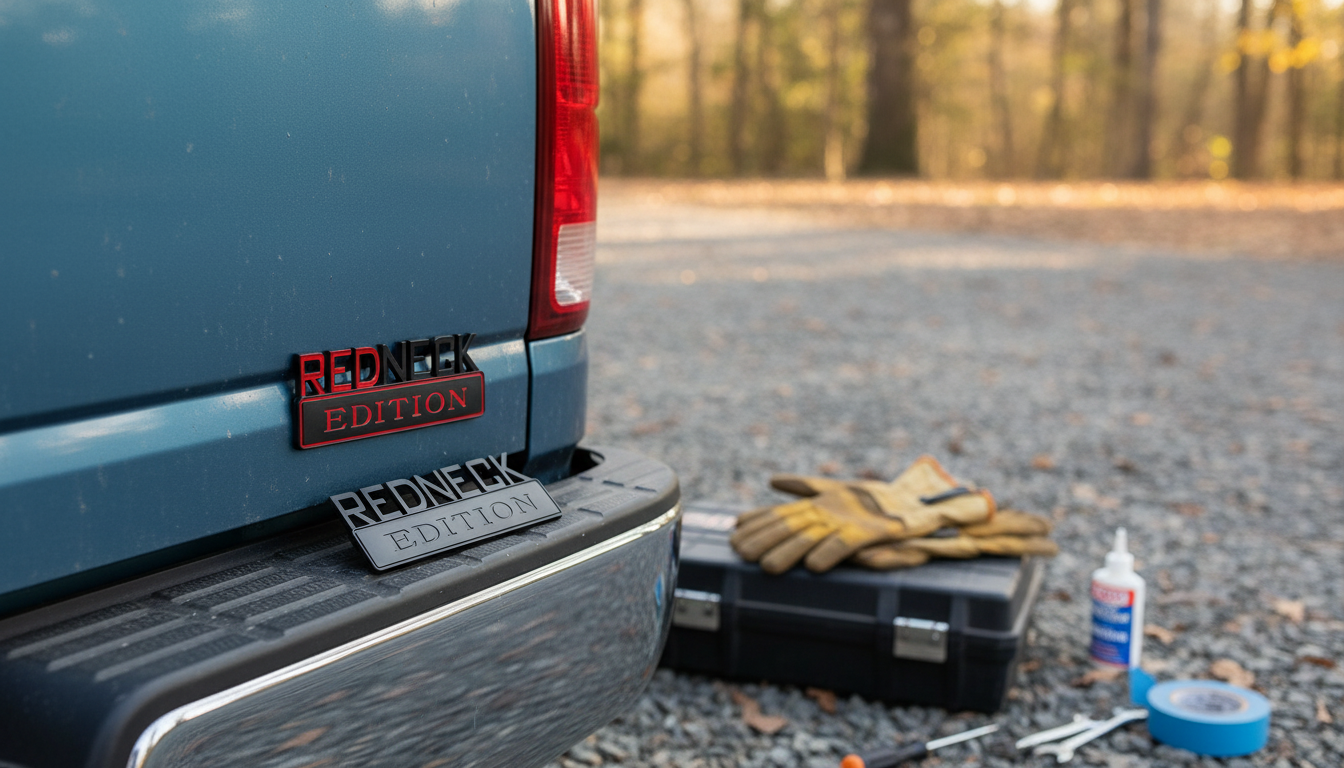
A raised, 3D-style ABS badge can add personality to a car or truck without permanent modifications. The 3D ABS Redneck Edition Car Emblem Badge Sticker is designed for quick placement on smooth exterior surfaces, delivering a clean, finished look that reads more like a small factory-style emblem than a flat decal.
Whether it’s going on a tailgate, toolbox, or a favorite spot on the glass (when allowed), the key to a sharp result is choosing a solid, smooth mounting area and taking a few minutes to prep the surface so the adhesive bonds evenly.
What This Emblem Adds to a Vehicle
- Raised 3D badge look that stands out more than a flat decal, especially in angled light.
- ABS construction aimed at a rigid, emblem-like appearance rather than a floppy sticker feel.
- Flexible accent placement on body panels, tailgates, toolboxes, or glass (where permitted).
- Budget-friendly customization that avoids drilling, repainting, or permanent alterations.
If you like adding small visual details without committing to a full wrap or new trim parts, a compact 3D badge is an easy way to build a theme one piece at a time.
Material, Finish, and Everyday Durability
ABS is a common automotive trim plastic used for badges and exterior accents. It’s valued for being lightweight and rigid, which helps a badge keep a crisp profile instead of looking like a thin label. The 3D profile also creates depth and shadowing, improving visibility at a glance—especially on flat panels where the badge can sit flush.
- The emblem shows best when installed on a rigid, smooth surface so the edges make full contact.
- For long-term hold, avoid rubber trims, textured plastics, or heavily curved areas where edges may lift over time.
Adhesive-backed accessories are only as strong as their surface contact. A clean, glossy panel usually performs better than textured bumper plastics that reduce contact area and expose edges to airflow and wash pressure.
Placement Ideas That Look Intentional
- Rear: Tailgate, trunk lid, or near existing model/trim badges. Leave a little breathing room so the area doesn’t look crowded.
- Side: Lower door area or rear quarter panel. If you plan to add more accents later, keep alignment consistent left-to-right.
- Glass: A rear window corner can work, but avoid blocking visibility and follow local rules.
- Interior: Dashboard trim, center console, or a hard case/cooler for a themed setup.
A simple trick for cleaner styling: stand 10–15 feet back and check spacing from body lines, taillights, and existing badges before committing. Small adjustments often make the difference between “added-on” and “finished.”
Installation Steps for Strong Adhesion
For adhesive-backed emblems, surface prep matters as much as placement. Many “it fell off” stories come down to wax, detail spray residue, or moisture trapped under the adhesive.
- Wash the area, then fully dry it. Adhesion drops fast on damp surfaces.
- Remove wax and oils using isopropyl alcohol on a clean microfiber cloth.
- Test placement first using painter’s tape as a temporary guide for straight alignment.
- Apply firm, even pressure across the badge—especially the edges—so the adhesive bonds consistently.
- Let it set before heavy rain or a car wash. More cure time generally improves hold.
For deeper reading on bonding fundamentals, the 3M tape design guide outlines why clean surfaces and even pressure are critical to adhesive performance.
Quick Specs and Buying Snapshot
| Item | Details |
|---|---|
| Product | 3D ABS Redneck Edition Car Emblem Badge Sticker |
| Material | ABS (rigid plastic) |
| Style | 3D raised emblem/badge |
| Mounting | Adhesive backing (surface prep required) |
| Typical surfaces | Smooth painted metal, glass, hard plastics |
| Price | USD $5.82 |
| Availability | In stock (40) |
Care, Washing, and Removing Later
- Hand washing is safest around the edges during the first few days after installation.
- Avoid blasting the edges with a pressure washer nozzle at close range, which can catch an edge and start lifting.
- If removal is needed, warm the badge gently (sunlight or a hair dryer on low), then peel slowly.
- Use an adhesive remover safe for automotive paint, then wash and reapply wax/sealant if needed.
When placing anything on glass, it’s also smart to keep visibility and safety in mind. The NHTSA offers general vehicle safety guidance that reinforces the importance of keeping sightlines clear and avoiding modifications that interfere with safe operation.
Compatibility and Common Sense Checks
- Confirm the surface is clean, smooth, and solid; textured bumper plastics often cause edge lift.
- Avoid placing near sensors, cameras, or moving parts (trunk seams, sliding doors, fuel doors).
- Check local regulations for stickers/badges on windows and anything that could obstruct visibility.
- If the vehicle is freshly painted, wait until paint is fully cured before applying adhesives.
Popular Add-Ons to Keep the Setup Practical
- 10W Dual USB Fast Charger Adapter for Smartphones & Travel Use for keeping a phone and accessory charged from one outlet.
- High-Brightness Rechargeable Waterproof Bike Headlight as a compact light option for bikes, emergency kits, or campsite use.
For the emblem itself, the direct product page is here: 3D ABS Redneck Edition Car Emblem Badge Sticker.
FAQ
Will it stick to textured plastic bumpers or matte trim?
Best adhesion is on smooth, glossy, hard surfaces. Textured or rubberized trim reduces contact area, so choosing a smoother spot helps prevent edge lift over time.
Is it safe to put the badge on a car window?
It can adhere to glass, but placement should not block the driver’s view. Keep it to corners and check local laws; when possible, avoid positioning over defroster lines.
How do you remove it without damaging paint?
Warm it gently, peel slowly, and remove any residue with a paint-safe adhesive remover. Avoid metal scrapers; if you need a tool, use a plastic trim tool and finish with a wash.


Leave a comment