USB Desktop Mic Setup for Clear Voice on Calls & Streams
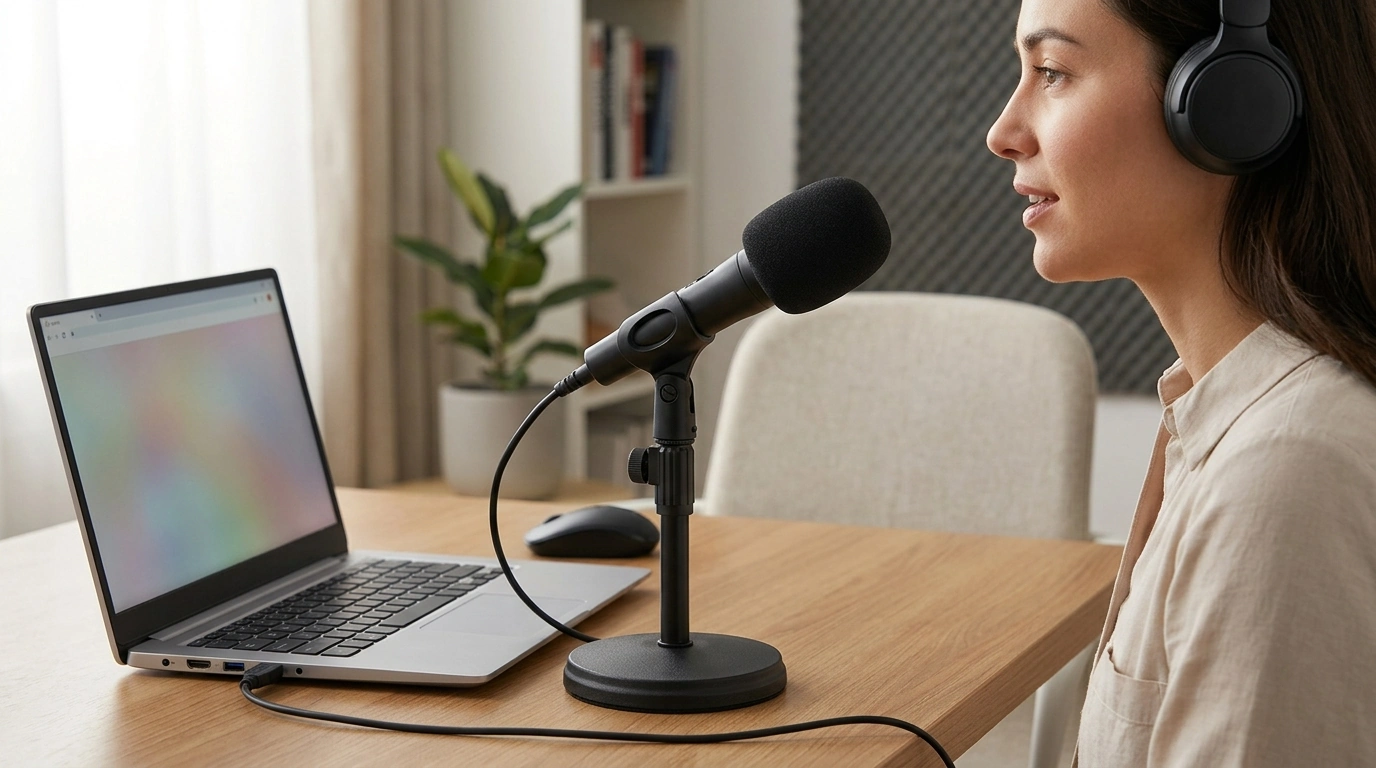
USB Desktop Microphone for Clear Voice in Podcasting, Streaming, Recording, and Meetings
A good desktop USB microphone can make speech sound fuller, cleaner, and easier to understand—without an audio interface or complicated setup. This guide covers what actually improves voice clarity, what a USB mic can’t solve on its own, and the placement and quick checks that prevent common issues like popping, background noise, and echo.
What a USB Desktop Microphone Improves (and What It Can’t Fix)
A dedicated USB desktop mic typically captures a stronger, closer voice signal than built-in laptop microphones. That stronger signal improves intelligibility, makes your voice sound more “present,” and helps keep volume consistent so listeners don’t have to ride the volume knob.
Used correctly, a USB mic can also reduce how much “room” you hear—because you can place it closer and run lower gain. That said, it won’t magically erase a noisy environment. Fans, street noise, and loud roommates still get picked up, just less so when the mic is positioned and leveled well. The same goes for keyboard clicks: they’re best handled by placement and pickup pattern choices, not wishful thinking.
Core Features to Look For in a Desktop USB Mic
Pickup pattern
For a single speaker, a cardioid pickup pattern is usually the best starting point. It focuses on sound from the front and rejects more of what’s behind the mic, which can help reduce room reflections and background sources.
Bit depth and sample rate
For meetings and everyday calls, 16-bit/48 kHz is plenty. If you record voiceovers or podcasts and your speaking distance/gain changes from take to take, 24-bit recording can give extra headroom, making level setting less stressful.
Built-in controls
A physical mute button is one of the most useful features for calls and streams. Gain and headphone volume knobs also reduce “software fumbling” when you need fast adjustments.
Headphone monitoring (with low latency)
A 3.5 mm headphone output lets you monitor your voice in real time. If the mic supports direct monitoring, you can hear yourself without the distracting delay that happens when audio is routed through the computer first.
Stand stability and angle adjustment
Consistency matters for tone. A sturdy stand (and an easy way to angle the mic) helps keep a steady mouth-to-mic distance, which keeps your voice from sounding thin one moment and boomy the next.
Plug-and-play compatibility
Confirm the microphone works with Windows and macOS and plays nicely with common apps like Zoom, Teams, Discord, and OBS. For app-specific setup help, see Zoom’s guidance on testing audio before meetings and Microsoft’s overview of Teams audio settings: Zoom Support, Microsoft Support.
Recommended Setup by Use Case
Podcasting (spoken voice)
Keep the mic about 4–8 inches from your mouth, and speak slightly off-axis (just a few degrees to the side) to reduce plosives. A pop filter or foam windscreen helps prevent “P” and “B” bursts from overloading the capsule.
Streaming
Prioritize a quick-access mute button and stable gain settings. If your environment is lively, a light noise gate or expander in software can keep low-level background noise from being constant when you’re not speaking.
Recording voiceovers
Choose the quietest room available, move the mic closer, and reduce gain. This approach improves the voice-to-room ratio, producing a cleaner track that needs less processing later. If you use Audacity, its recording documentation is a helpful reference for device selection and level checks: Audacity Manual.
Online meetings
| Scenario | Mic distance | Best placement tip | Software setting to check |
|---|---|---|---|
| Podcasting | 4–8 in (10–20 cm) | Slightly off-axis; use a pop filter | Record at -12 to -6 dB peaks |
| Streaming | 6–10 in (15–25 cm) | Keep mic below mouth level to reduce breath hits | Add noise gate/expander if needed |
| Voice recording | 4–6 in (10–15 cm) | Treat reflections (blanket/curtain) behind mic | Disable enhancements; record clean |
| Online meetings | 8–12 in (20–30 cm) | Aim front of mic toward mouth; avoid desk bumps | Turn off auto-gain if it sounds unnatural |
Placement and Room Tips for Cleaner Audio
Simple Audio Checks Before Going Live
When a USB Desktop Microphone Is the Right Choice
Product Spotlight: Easy Upgrades for Your Desk Setup
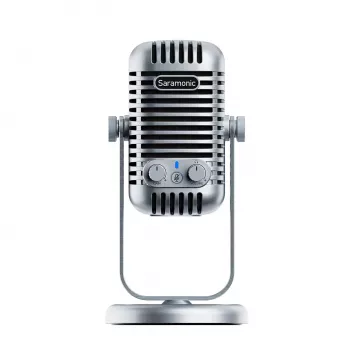
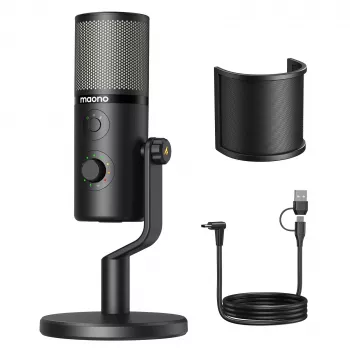
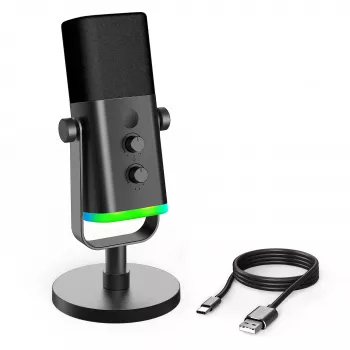
- USB Desktop Microphone for Podcasting, Streaming, Recording & Online Meetings (USD 90.32) — A practical, plug-and-play choice for clearer voice in podcasts, livestreams, recordings, and conferencing.
- Alviero Martini Prima Classe Women’s Beige Bag with Zip (USD 135.85) — A handy option for carrying a compact creator kit (mic, cables, small accessories) between home and office.
- Dolce & Gabbana Gold Charm Necklace with Carretto Pendants and Crystals (USD 1387.00) — A polished on-camera accessory for presenters who want a more styled look during live sessions.
FAQ
Do USB microphones work with Zoom, Microsoft Teams, and Discord?
Yes—most USB microphones are plug-and-play on Windows and macOS. Select the mic as your input device in your system sound settings and again inside each app, then do a quick test call to confirm the input level is healthy.
Why does my voice sound muffled or echoey on a desktop microphone?
This usually happens when the mic is too far away, the gain is set too high, or the room is very reflective. Move the mic closer, lower the gain, and make sure you’re speaking into the correct side of the mic; adding soft materials in the room can also reduce echo.
How close should a desktop USB microphone be for clear speech?
For clear voice, start around 4–8 inches from your mouth. Speak slightly off-axis and use a pop filter or windscreen to reduce plosives and breath noise.








Leave a comment