DIY Tissue Box: Sewn Canvas Cover or No-Sew Makeover
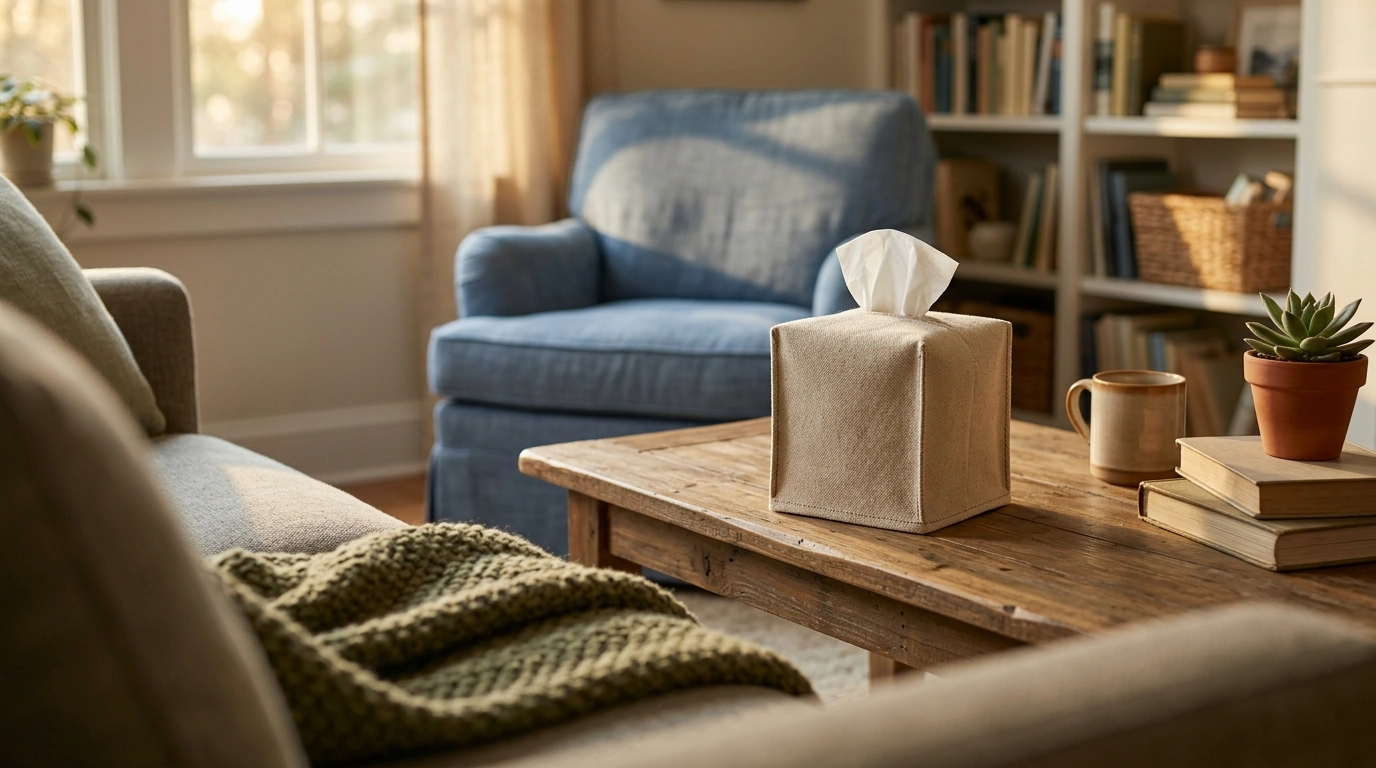
How to make a homemade tissue box?
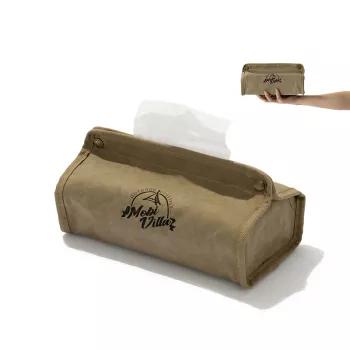
A homemade tissue box can be as simple as a decorated cardboard cover or as durable as a washable fabric sleeve. For a portable version, lightweight canvas holds its shape and works well on a desk, in a suitcase, or in the car.
Gather your materials
For a sewn cover, you’ll need medium-weight canvas, scissors, a ruler, pins or clips, matching thread, and a sewing machine. Measure the tissue package you plan to use, including its height, width, and depth. Add about ½ inch to each measurement for ease and seam allowance. A flexible tape measure makes it easier to check the package without crushing it.
Cut and sew the fabric
Cut one long rectangle for the sides and top, plus two pieces for the ends. The long piece should wrap around the package’s sides and across its top; the end pieces should match the package’s end measurements. To make the tissue opening, find the center of the top panel and cut a narrow oval or rounded rectangle. Keep the opening smaller than the package’s top so the fabric helps hold tissues in place.
With the right sides of the fabric facing inward, pin each end piece to the long panel and sew the seams. Fold and stitch around the tissue opening to keep its edge neat. Hem the bottom edge, turn the cover right side out, and slide it over the tissue package. Adjust the opening if tissues catch when you pull them out.
Make a no-sew version
If you don’t sew, cover a clean, empty tissue box with wrapping paper, sturdy fabric, or contact paper. Cut an opening over the box’s dispenser slot, fold excess material under the bottom, and secure it with double-sided tape. Refill the decorated box with tissues, or use the original box as a lightweight insert inside a fabric cover.
Choose washable materials for a reusable cover, and avoid bulky decorations around the opening. For more ideas on a travel-friendly fabric design, visit the portable canvas tissue box guide.
FAQ
What fabric works best for a reusable tissue box cover?
Medium-weight cotton canvas is a good choice because it is sturdy, easy to sew, and washable. Prewash the fabric before cutting to reduce shrinkage later.









Leave a comment